手写 Vuex4.x
上一章分析过 Vuex3.x,现在看一下 Vuex4.x。大致都相同,就 Store 初始化和挂载有点区别。
使用 Vue3 的 provide/inject api 实现组件的挂载
初始化转载与注入
用法
import { createStore } from 'vuex';

// 通过crateStore,创建一个store实例
const store = createStore({});

// 将store实例作为插件安装
createApp(App)
  .use(store)
  .mount('#app');
实现 createStore 与 useStore
初始化通过 crateStore 函数 new Store() ,返回一个 store 实例
export function createStore(options) {
  return new Store(options);
}
通过 provide / inject 实现每个组件能过通过useStore方法获取到store实例
- 父组件通过 provide 来提供数据,子组件通过 inject 来使用这些数据
import { inject } from 'vue';

// 定一个key,作为provide/inject的key
const injectKey = 'store';

export function useStore() {
  return inject(injectKey);
}

export class Store {
  constructor(options) {}

  // app.use(store)【store中间件挂载app上时需要调用的方法】
  install(app) {
    // 通过Provide注入给所有组件
    app.provide(injectKey, this);
  }
}
实现 state
这里跟 Vuex3.x 的区别是,Vue3x 是将 state 作为 data 的参数,直接塞到 new Vue()中实现响应式的。
现在 Vuex4.x 是通过 vue3 的 reactive 方法,实现 state 的响应式。
// myVue.js
import { inject, reactive } from 'vue';

export class Store {
  constructor(options) {
    const store = this;
    store._state = reactive({ data: options.state || Object.create(null) });
  }

  get state() {
    return this._state.data;
  }

  // app.use(store)【store中间件挂载app上时需要调用的方法】
  install(app) {
    // 通过Provide注入给所有组件
    app.provide(injectKey, this);

    // 挂载在全局对象上,可通过this.$store取到
    app.config.globalProperties.$store = this;
  }
}
// index.ts
import { createStore } from './myVuex';

export default createStore({
  state: {
    count: 2,
  },
});
<template>
<div>
<div class="item">
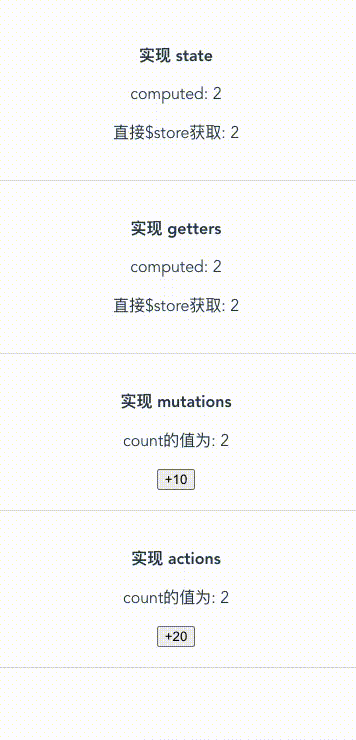
<p class="title">实现 state</p>
<p>computed: {{ count }}</p>
<p>直接$store获取: {{ this.$store.state.count }}</p>
</div>
</div>
</template>
<script lang="ts">
import { computed, defineComponent } from 'vue';
// import { useStore } from 'vuex';
// 引入自己写的Vuex
import { useStore } from './store/myVuex';
export default defineComponent({
name: 'TestVuex',
setup() {
const store = useStore();
return {
// 响应式的count
count: computed(() => store.state.count),
};
},
});
</script>
实现 getters
跟 Vue3.x 的没多少区别,为了少写点代码,封装个函数,用于遍历对象属性。
export class Store {
  import Util from './util';

  constructor(options) {
    //...
    const { getters } = options;
    store.getters = Object.create(null);
    Util.forEachValue(getters, (fn, key) => {
      Object.defineProperty(store.getters, key, {
        get: () => fn(store.state)
      });
    });
  }
}
// util.ts
export default class Util {
  static isObject(obj) => {
    return obj !== null && typeof obj === 'object';
  }

  static forEachValue(obj, fn) => {
    if (this.isObject(obj)) {
      Object.keys(obj).forEach((key) => fn(obj[key], key));
    }
  };
}
实现 mutations
export class Store {
  import Util from './util';

  constructor(options) {
    //...

    // 实现mutations
    const { mutations } = options;
    store.mutations = Object.create(null);
    Util.forEachValue(mutations, (mutation, key) => {
      store.mutations[key] = (payload: any) => {
        mutation.call(store, store.state, payload);
      };
    });
  }

  // 提供触发mutations的commit方法
  commit = (type: string, payload: any) => {
    if (!this.mutations[type]) {
      return console.error(`[vuex] unknown mutations type: ${type}`);
    }
    this.mutations[type](payload);
  }
}
实现 actions
export class Store {
  import Util from './util';

  constructor(options) {
    //...

    // 实现actions
    const { actions } = options;
    store.actions = Object.create(null);
    Util.forEachValue(actions, (action, key) => {
      store.actions[key] = (payload: any) => {
        action.call(store, store, payload);
      };
    });
  }

  // 提供触发actions的dispatch方法
  dispatch = (type: string, payload: any) => {
    if (!this.actions[type]) {
      return console.error(`[vuex] unknown actions type: ${type}`);
    }
    this.actions[type](payload);
  }
}
四个方法,大功告成~
完整代码
demo 示范: